Retro favourite returns: the Yugoslav wafer cake with chocolate filling
A quick, no-bake chocolate-and-biscuit wafer cake from the Yugoslav era — exact recipe and step-by-step method.
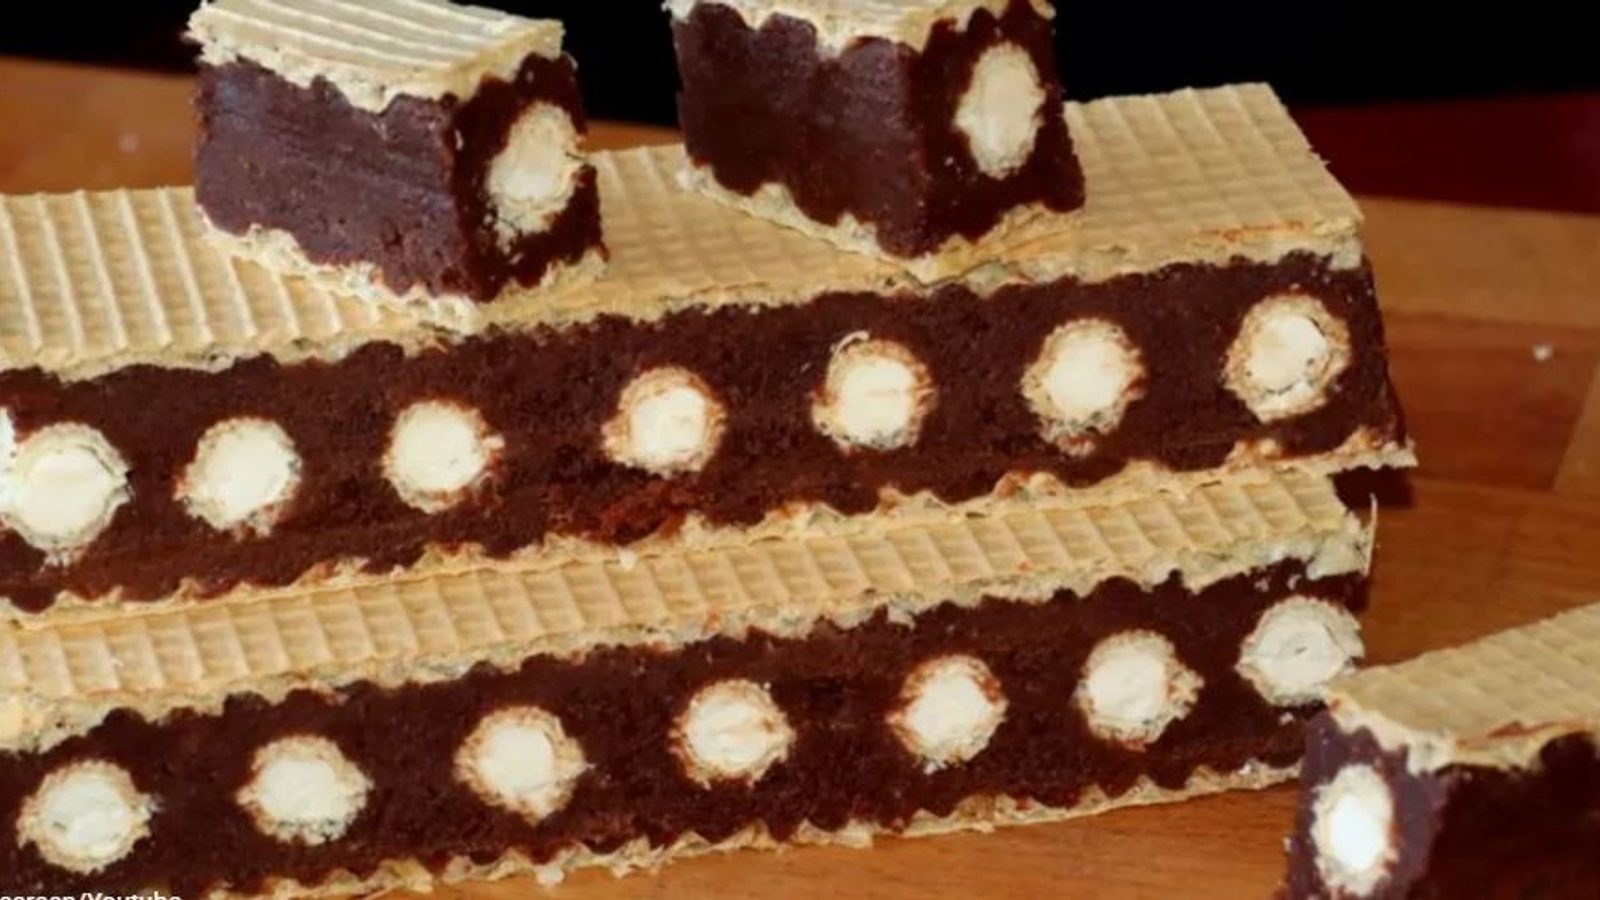
Once a staple of Yugoslav home kitchens, the crisp, creamy wafer cake made from chocolate filling and crushed biscuits is enjoying renewed attention — a quick, inexpensive dessert that many still associate with childhood and family gatherings.
The recipe is prized for being fast to assemble while delivering rich flavour: a chocolate-milk filling, a dense layer of ground biscuits and crunchy wafer sheets combine into an irresistible treat that needs no oven.
Ingredients (exact quantities):
- 250 ml milk
- 250 g sugar
- 200 g butter (or margarine)
- 200 g cooking chocolate
- 300 g ground biscuits
- Biscuits with filling as desired (for inner layering)
- Large wafer sheets
How to prepare
Start the filling on the stovetop: pour the milk into a deeper pot with the sugar and butter, and heat over medium until the mixture comes to a boil. As soon as it boils, remove the pot from the heat (or lower the flame) and add the cooking chocolate broken into pieces, stirring continuously until the chocolate melts and blends smoothly with the milk.
While the chocolate mixture is still hot, stir in the ground biscuits and combine thoroughly to form a thick, homogeneous paste. Take the mixture off the heat and let it cool slightly so it begins to set while you prepare the wafer sheets.
Prepare the wafers by cutting large sheets in half for easier handling. Divide the slightly cooled filling into two equal portions and spread each portion evenly across one wafer half. On top of the first filled wafer layer arrange a row of your chosen biscuits (if using), then place the second filled wafer half on top with the filling facing down toward the biscuits.
Press the assembled cake gently with your palms and place a heavier flat object (for example a board or a thick book) on top to compress the layers so they bond well. Chill the cake in the refrigerator or a cool place until firm, then slice into squares or rectangles to serve. Enjoy!
Photo: press material from the event